Adding Animations to Shopify Sections Using Canva
Animations are a fantastic way to make your Shopify store visually engaging. With Canva, it’s easier than ever to bring these effects to life. This guide will show you how to add animations to your Shopify store using Canva and Canvify, all without any coding or expensive apps.
By the end of this tutorial, you’ll learn how to:
- Design an animated section or full page in Canva
- Use Canva’s lightweight animations
- Import animated designs to Shopify via Canvify
- Ensure smooth loading and a great user experience
Step 1: Prepare Your Animated Design in Canva
To begin, open Canva and choose a design template, or create one from scratch. You can animate individual elements like text, images, or entire sections. Canva offers a variety of animations that are lightweight, ensuring faster load times.
Select a Template or Page
Choose a template that fits your brand. Canva offers pre-designed templates that are fully customizable.
Animate Text or Images
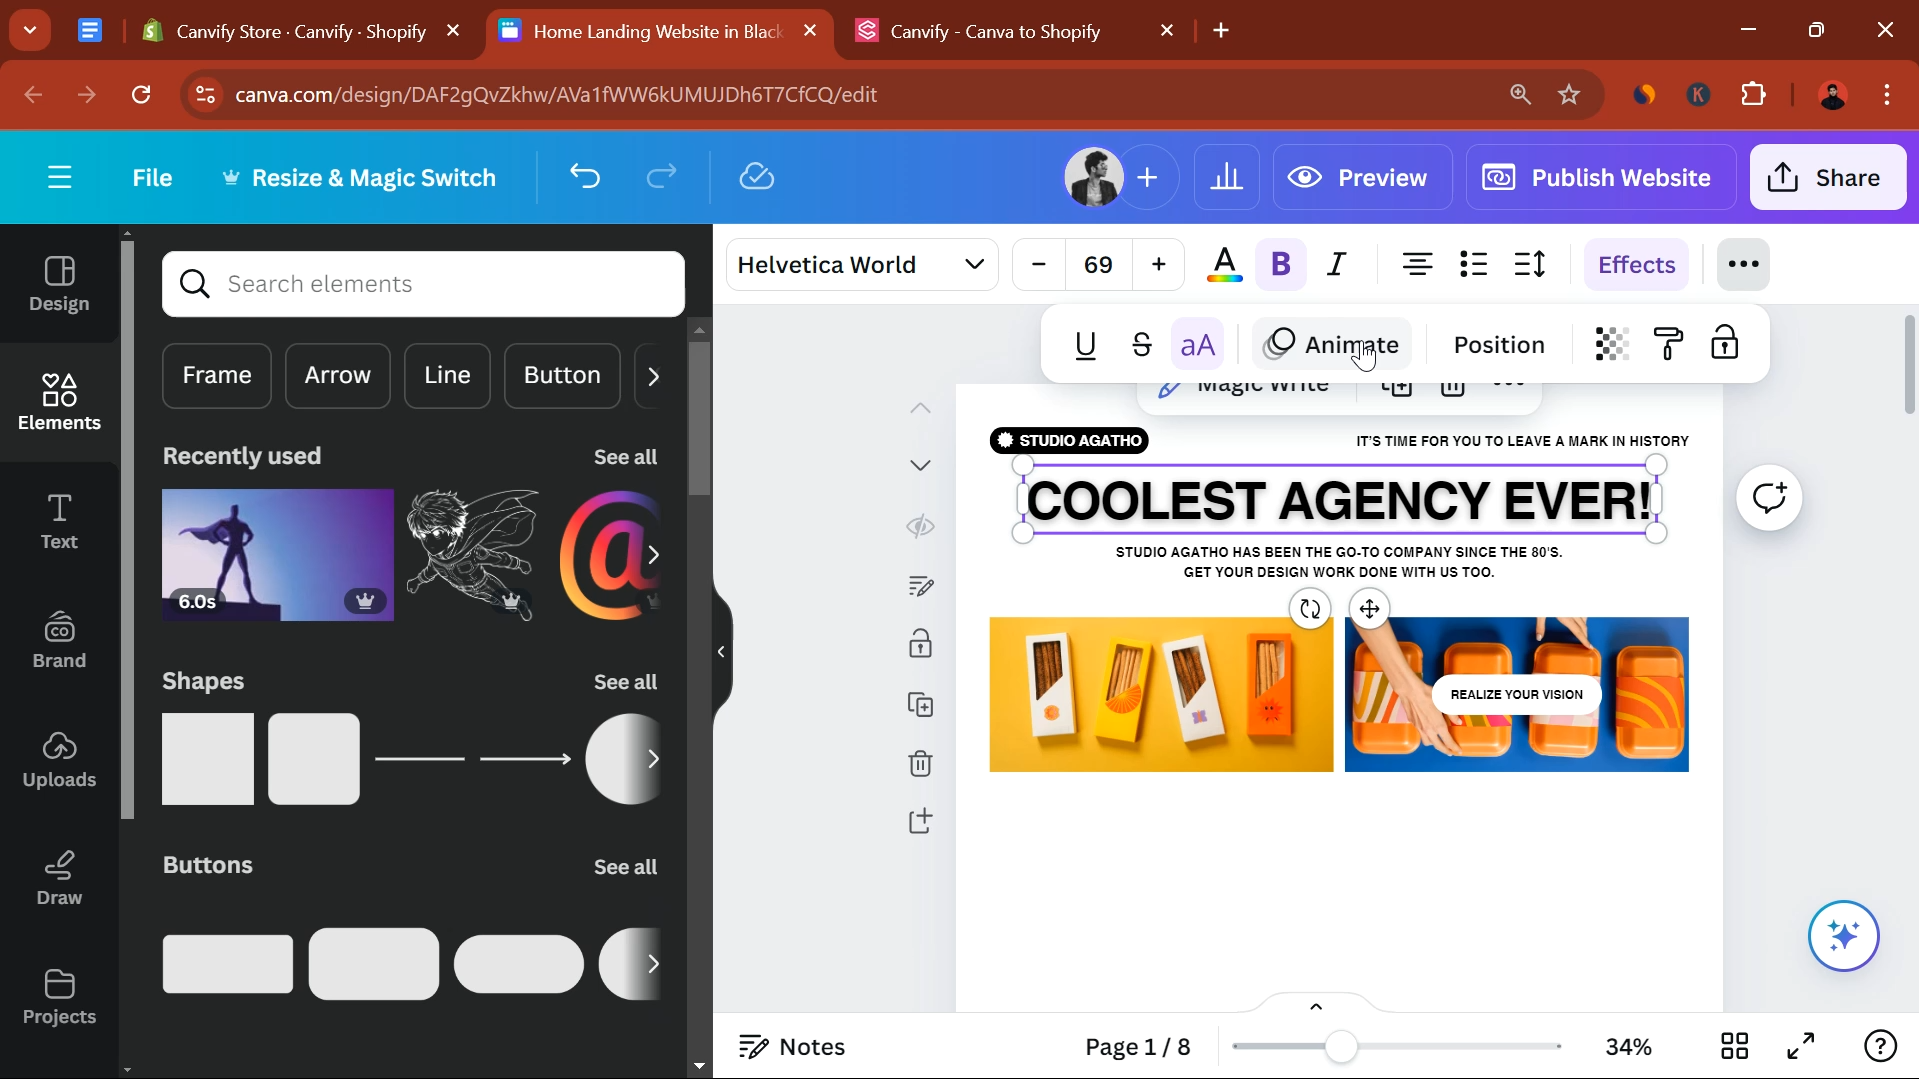
To add animation, click on the element you want to animate (text or image), and select the Animate button at the top of the page. Choose from animation effects like fade, bounce, or zoom.

Customize Animation Timing
Control how long the animation lasts and when it triggers. Canva lets you set the timing for each element, making your design dynamic.

Tip: Avoid using high-quality GIFs or videos that may slow down your page. Canva’s animations & graphics libraries are optimized for faster loading.
Step 2: Add Animated Elements
Once you’ve animated your main design, enhance it with more visual elements. Canva offers a library of animated graphics and stickers to make your page even more engaging.
Search for Animated Graphics
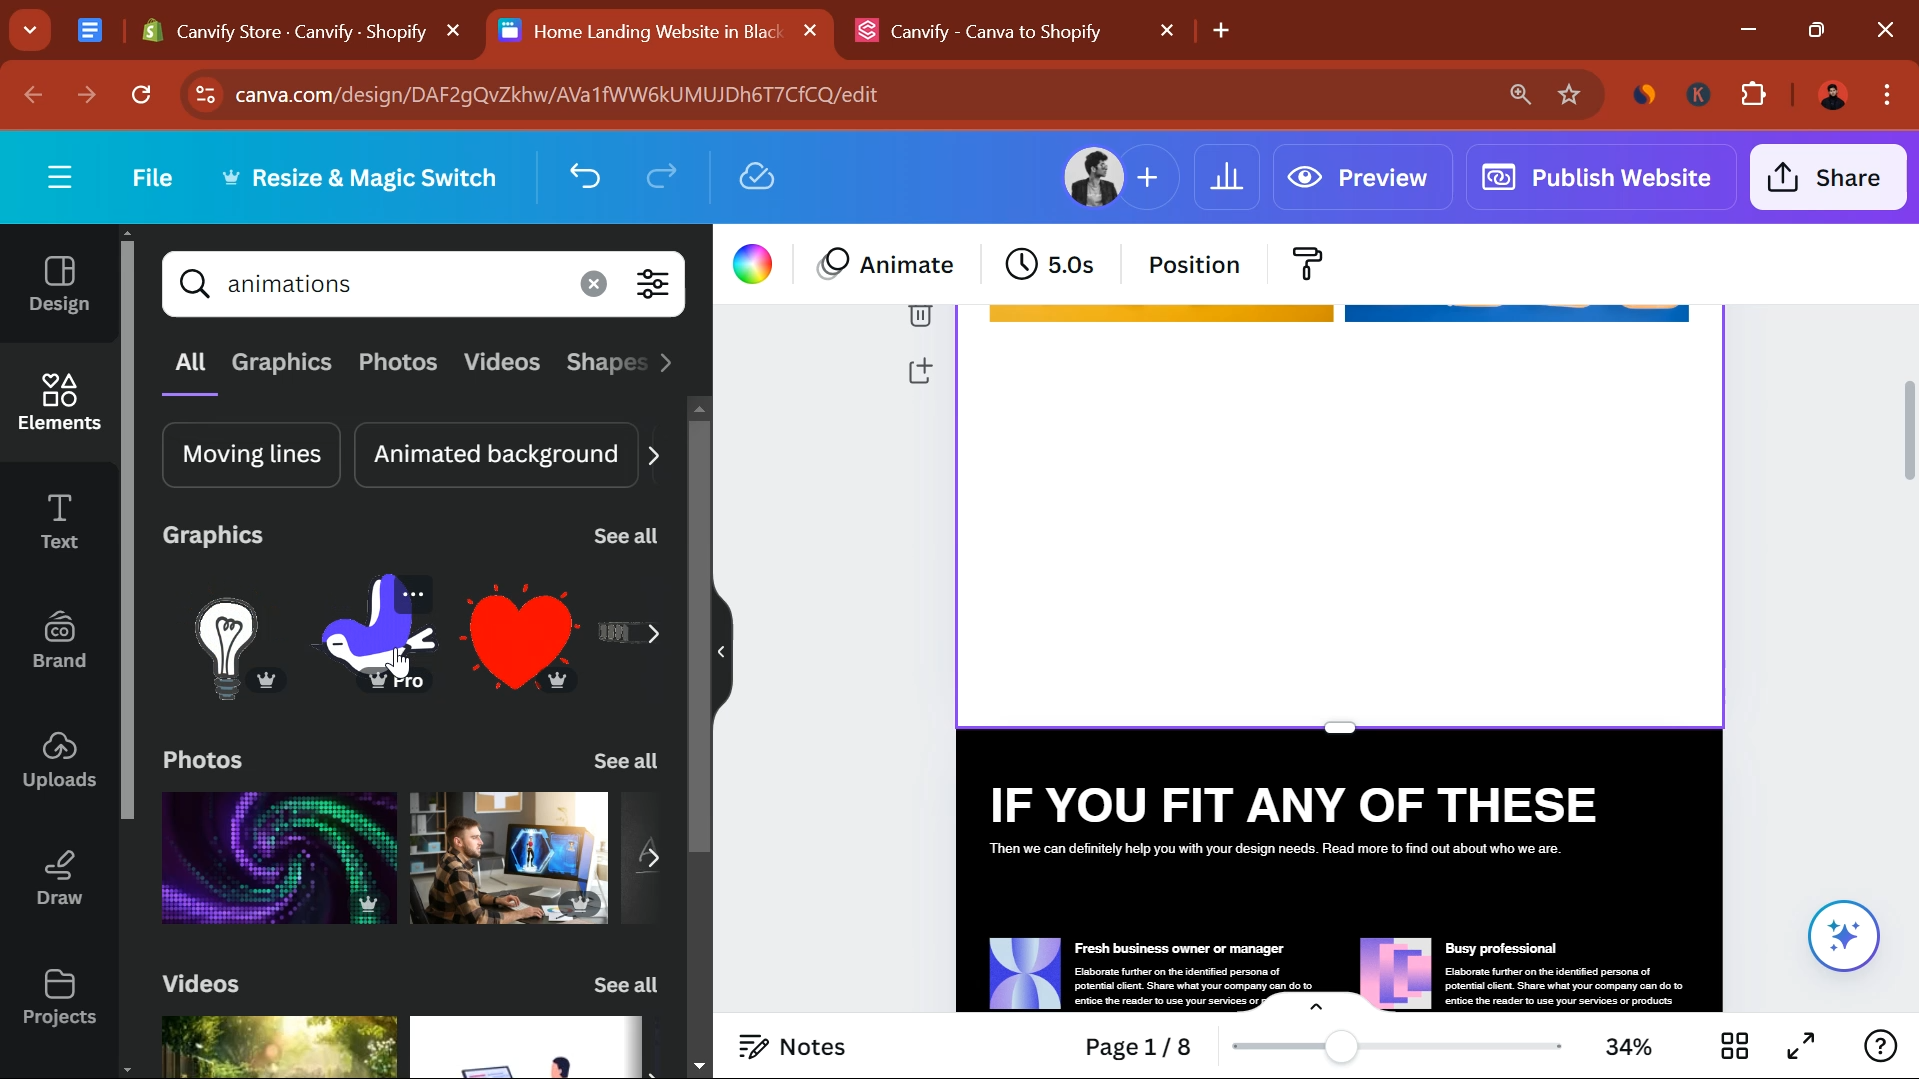
In Canva’s Elements section, search for animated graphics like stickers or gifs. These can emphasize key sections of your Shopify store.

Test the Flow
After adding animations, test your design’s flow. Ensure that the animated elements interact smoothly and don’t slow down the user experience.

Step 3: Import Your Design to Shopify Using Canvify
Once you’ve finalized your animated design in Canva, importing it to Shopify is quick with Canvify. Open Canvify from your Shopify admin panel, update or create a new page, and import your Canva design. After importing, preview your Shopify store to ensure everything looks smooth.
For detailed steps on importing designs, read our full tutorial.
Step 4: Optimize for User Experience
Animations can enhance your website, but it’s crucial to ensure they don’t negatively impact the user experience.
Keep It Simple
Overloading a page with too many animations can affect loading speed. Be selective with which elements you animate.
Test Loading Speeds
Use tools like Google PageSpeed Insights to check your Shopify page’s performance and ensure that animations don’t slow down the page.
Mobile Responsiveness
Ensure the animated elements display correctly on mobile devices. Canva and Canvify designs are typically responsive, but testing before going live is always a good idea.
Step 5: Take Creativity to the Next Level
With Canva and Canvify, the sky’s the limit for creativity. Here’s how you can further enhance your Shopify store:
- Animate Page Sections: Add animations to headers, footers, or product displays to make your store stand out.
- Remove Backgrounds: Canva Premium allows you to easily remove backgrounds from images or videos, making your animations seamless.
- Boost Engagement: Use animated calls-to-action (CTAs) to draw attention to special offers or featured products.
Watch the video embedded above to see a full walkthrough of how this process works and start enhancing your Shopify store today!