How to Create an Ecommerce Website Using Canva and Shopify
 Abdullah Shahid
 Building an ecommerce website no longer requires coding skills or expensive developers. Today, many store owners design their websites visually in Canva and then connect those designs to Shopify for selling. If you’ve ever wondered how to create an ecommerce website using Canva, this guide will walk you through the complete process from design to checkout using Canva, Shopify, and Canvify together.
Why Build an Ecommerce Website with Canva and Shopify?
 Canva and Shopify solve different problems.
Canva helps you:
Canva and Shopify solve different problems.
Canva helps you:
- Design pages visually
- Create branded layouts quickly
- Avoid rigid theme limitations
Shopify helps you: - Manage products and inventory
- Accept payments securely
- Handle checkout, taxes, and shipping
- Scale your store reliably
When combined correctly, you get design freedom without sacrificing ecommerce functionality.
Step 1: Decide What Pages You’ll Build in Canva
Before opening Canva, decide what you’re designing. Not every page needs Canva. The best use cases are:
- Homepage hero sections
- Campaign landing pages
- Collection highlight pages
- Product education or storytelling pages
- Seasonal sales pages
Your product pages and checkout still live inside Shopify.
Step 2: Design Your Ecommerce Page in Canva
Open Canva and start with:
- A blank canvas, or
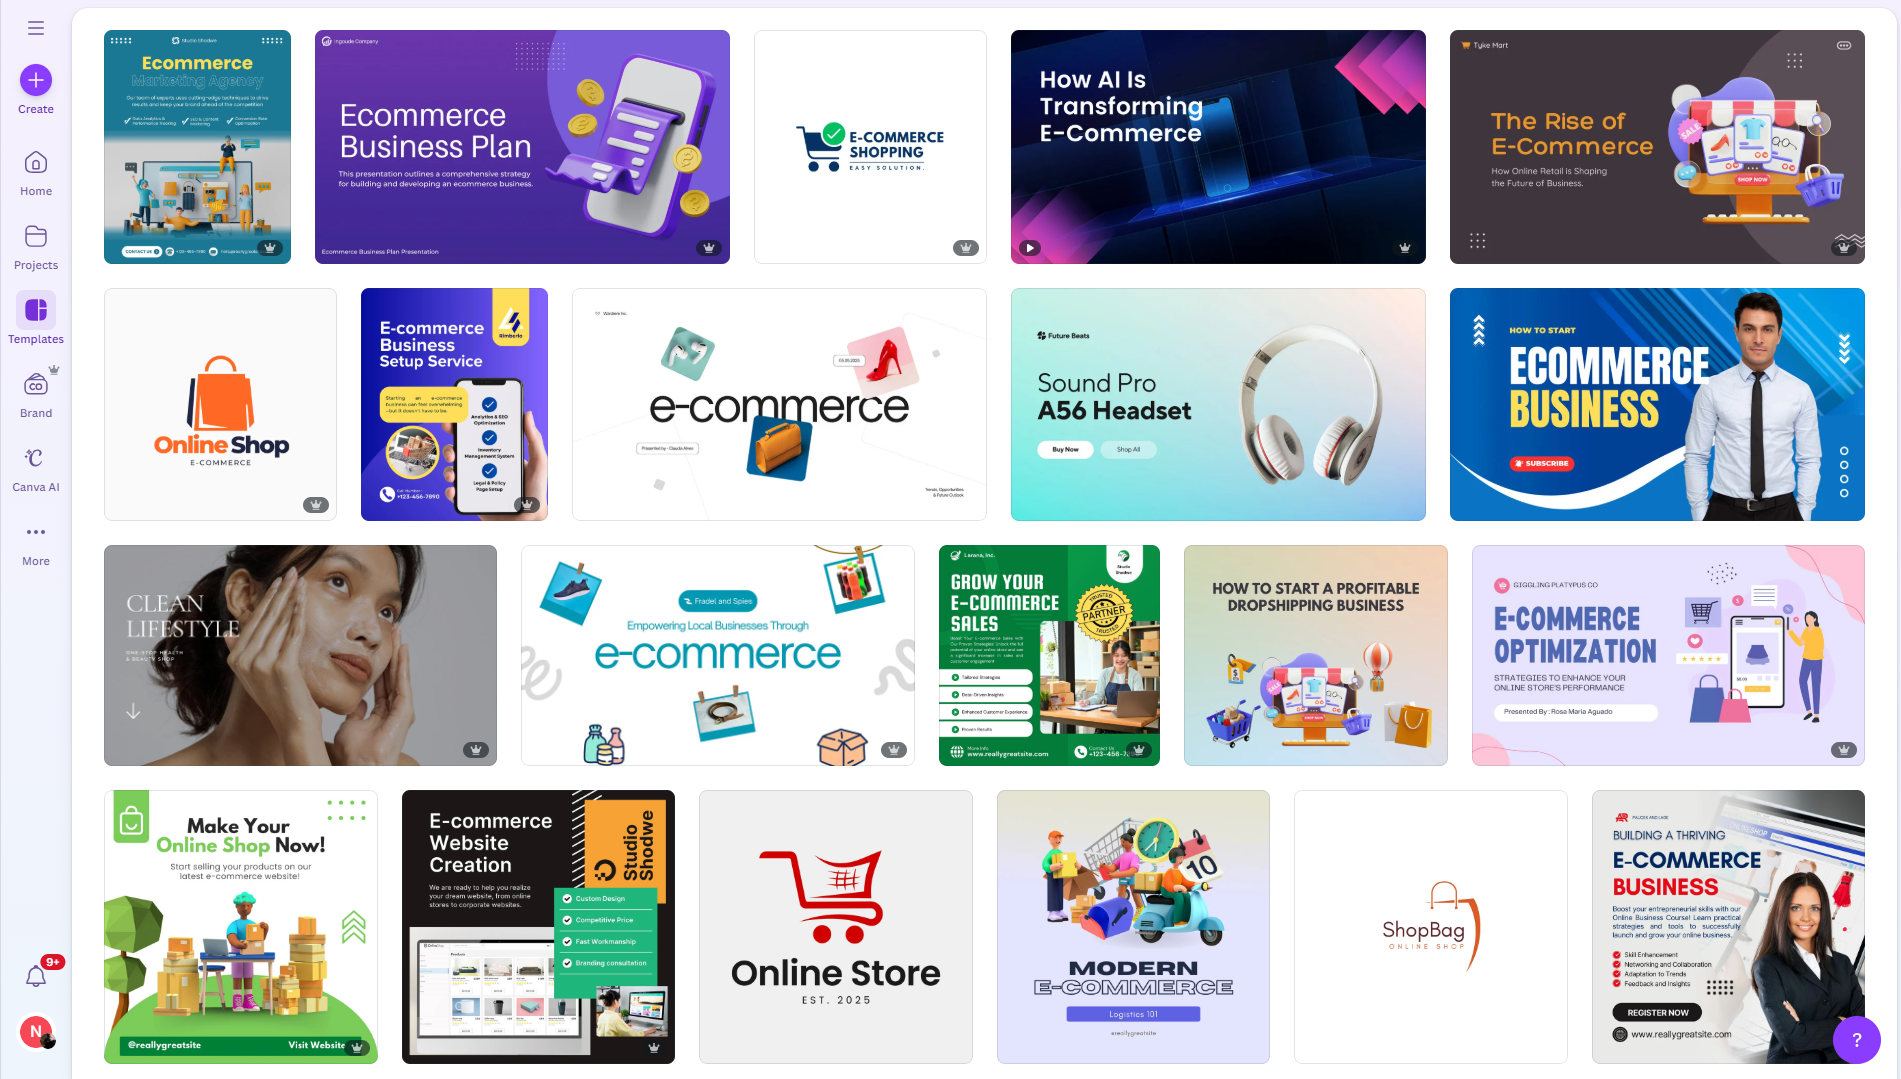
- An e-commerce-focused template
If you want ready-made layouts designed for Shopify, start here
What to Include in Your Canva Design
A strong ecommerce page should include:
- Clear headline and value proposition
- Product visuals or lifestyle imagery
- Feature or benefit sections
- Social proof or testimonials
- Clear call-to-action buttons
Design everything visually. Don’t worry about checkout yet.
Step 3: Add Products to Your Shopify Store
While your design is ready, your Shopify store should already have:
- Products created
- Pricing and variants set
- Payments enabled
- Shipping configured
Shopify will handle all ecommerce logic in the background. You don’t need to design anything on Shopify. Just use any ready-made Shopify themes like Dawn theme during sign-up, and just add your product images, titles, descriptions on the products section from dashboard. Its the same as uploading your products to your website. If you’re new to Shopify setup, the Canvify blog has helpful guides.
Step 4: Install Canvify on Shopify
To connect Canva designs to Shopify, install [Canvify from the Shopify App Store]https://apps.shopify.com/canvify Once installed, Canvify connects your Shopify store with Canva and enables direct publishing.
Step 5: Import Your Canva Design into Shopify
With Canvify, the workflow is simple:
- Open your Canva design
- Use Canvify to import it
- Publish it as a Shopify page
Your design becomes a native Shopify page, not an embed or iframe. This is critical for: - SEO
- Page speed
- Theme compatibility
Step 6: Connect Buttons to Shopify Checkout
Design alone doesn’t sell. Your buttons must connect to Shopify. There are two main options:
- Add to Cart links
- Buy Now checkout links
These links send visitors directly into Shopify’s checkout flow. Canvify helps generate and manage these links so you don’t need to build them manually.
Once imported, your Canva-designed page can be:
- Linked from your homepage
- Used in ads or email campaigns
- Set as a featured landing page
- Added to your navigation
You don’t need to replace your Shopify theme. Canva pages work alongside it.
Step 8: Optimize for Mobile and Performance
Most ecommerce traffic is mobile. Before publishing:
- Check mobile responsiveness in Canva
- Ensure buttons are easy to tap
- Avoid heavy animations
- Keep layouts clean and scroll-friendly
Canvify publishes pages optimized for Shopify’s environment, helping maintain performance.
Step 9: Use Canva Pages for Campaigns and Sales
This setup is especially powerful for:
- Black Friday and Cyber Monday
- Product launches
- Influencer traffic
- Paid ad landing pages
You can duplicate designs in Canva, update text, and publish new Shopify pages in minutes.
Step 10: Track Performance and Improve
Because your page lives inside Shopify, you can:
- Track conversions
- Measure traffic sources
- Optimize copy and layout
- A/B test designs over time
This makes Canva-designed ecommerce pages just as measurable as traditional Shopify pages.
Common Mistakes to Avoid
Avoid these mistakes:
- Using Canva websites instead of Shopify pages
- Linking checkout incorrectly
- Overdesigning without clear CTAs
- Ignoring mobile layouts
- Replacing your entire theme unnecessarily
Canva enhances Shopify, it doesn’t replace it.
Real Example Workflow
A typical ecommerce workflow looks like this:
- Design landing page in Canva
- Import with Canvify
- Connect Shopify checkout links
- Drive traffic from ads or social
- Optimize based on results
This gives you speed, flexibility, and scalability.
FAQs
Can I create a full ecommerce store using Canva?
No. Canva handles design, not ecommerce systems.
Can I sell products using Canva pages?
Yes, when those pages are published into Shopify using Canvify.
Do Canva pages hurt SEO?
No, when published as native Shopify pages, Canva pages offer great SEO since all your page content is actually converted in website friendly code on the backend.
Is coding required to design an Ecommerce page in Canva?
No. Everything is visual.
Final Thoughts
Creating an ecommerce website with Canva and Shopify is no longer a workaround, it’s a modern workflow.
Canva gives you creative freedom.
Shopify gives you ecommerce power.
Canvify connects both seamlessly.
If you want fast launches, better branding, and full control without developers, this setup is one of the smartest ways to build an ecommerce store today.